Are you dreaming of giving your home a fresh new look but worried about the cost of hiring professionals? Good news! Many home renovation projects are easy and fun to do by yourself, even if you’ve never picked up a hammer before. You can make a huge difference in your space with just a little time, some creativity, and a few tools. Plus, DIY projects can save you a lot of money!
In this article, we’ll walk you through seven simple yet exciting DIY home renovation projects that you can do without hiring a pro. You don’t need to be an expert; just follow the steps, and you’ll see amazing results.
Paint a Room for a Fresh Look
One of the easiest and most affordable ways to renovate your home is by giving your walls a fresh coat of paint. A new color can completely change the mood and feel of any room. Whether you want a calming blue for your bedroom or a bright yellow for your kitchen, paint is a powerful tool.
What You Need:
- Paint (choose a color you love)
- Paint rollers and brushes
- Painter’s tape
- Drop cloths or old sheets
- Paint tray
How to Do It:
- Start by preparing the room. Move furniture out or cover it with a drop cloth to protect it from splashes.
- Use painter’s tape to mask off areas like baseboards, windows, and doors so that the paint doesn’t get on them.
- Begin by cutting in around edges with a brush, and then fill in the larger areas with a roller.
- Let the first coat dry before applying a second coat if needed.
- Once everything is dry, carefully remove the painter’s tape and admire your beautiful new room!
Tip: If you’re not sure what color to choose, try painting a small section of the wall first to see how it looks in different lighting.
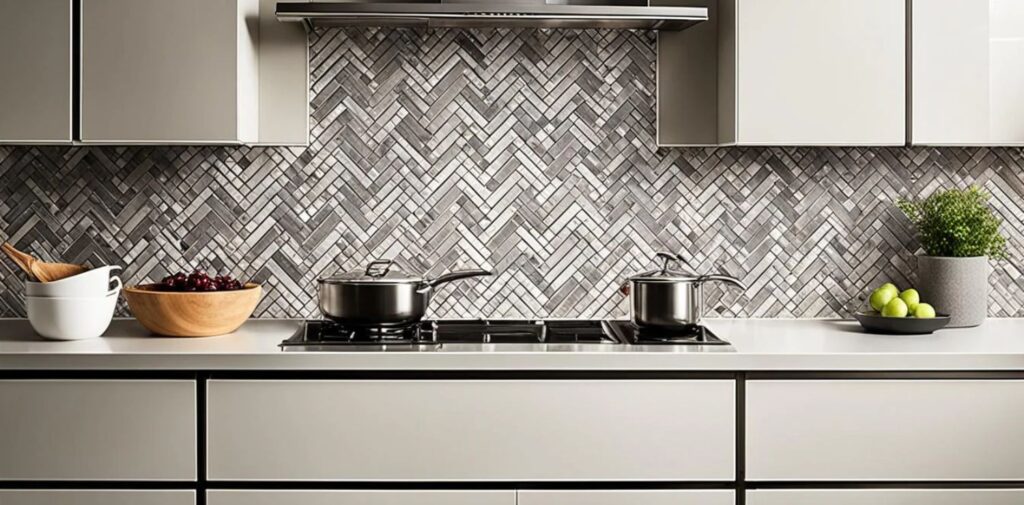
Install a Backsplash in the Kitchen
A backsplash is a stylish and practical addition to your kitchen. It protects your walls from splashes while cooking and adds a fun design element. The best part is that you can easily install it yourself without needing a professional.
What You Need:
- Peel-and-stick backsplash tiles (or regular tiles if you’re feeling adventurous)
- Tile adhesive (if using regular tiles)
- Grout (for regular tiles)
- Tile cutter (for regular tiles)
- Notched trowel (for regular tiles)
- Sponges and buckets of water
How to Do It:
- Clean the wall where you want to install the backsplash, making sure it’s free from grease and dust.
- If using peel-and-stick tiles, just peel off the backing and press the tiles onto the wall, starting at the center and working outwards.
- For regular tiles, apply a thin layer of tile adhesive to the wall with a notched trowel, then place the tiles on top. Be sure to leave small spaces between the tiles for grout.
- Once all the tiles are in place, wait for them to dry and then apply grout to fill in the gaps.
- Wipe away any excess grout with a damp sponge and let it dry.
Tip: Peel-and-stick tiles are great for beginners, as they don’t require mixing adhesive or grout.
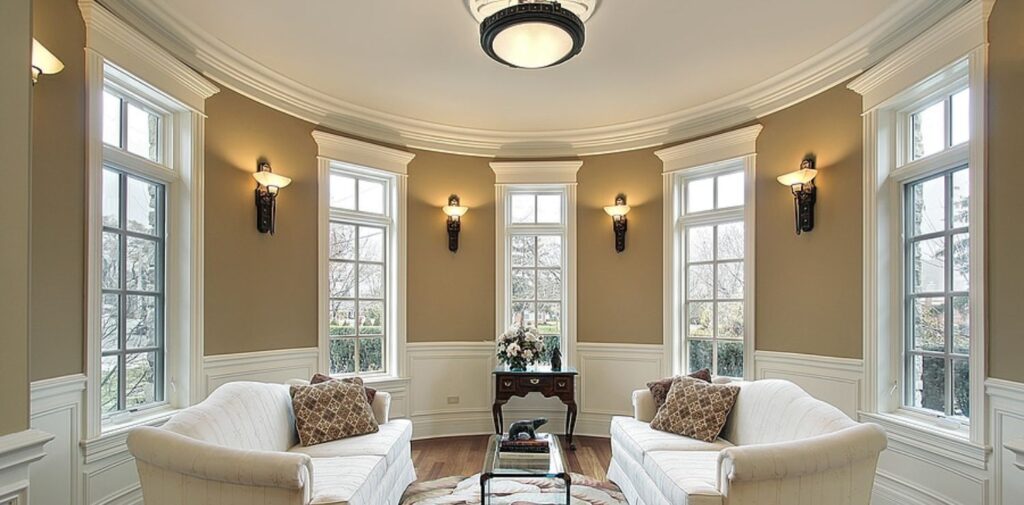
Install New Light Fixtures
Changing out old light fixtures can instantly update the look of any room. Whether you want to add a sleek modern chandelier or brighten up your kitchen with new pendant lights, replacing a light fixture is a manageable DIY project.
What You Need:
- New light fixture(s)
- Screwdriver
- Voltage tester (to ensure the power is off)
- Wire nuts
How to Do It:
- First, turn off the electricity at the breaker box to avoid any accidents.
- Remove the old light fixture by unscrewing it from the ceiling and disconnecting the wires. Use a voltage tester to make sure the wires are not live.
- Attach the new light fixture to the ceiling by matching the wires (usually black to black and white to white) and securing them with wire nuts.
- Screw the new fixture in place and turn the power back on.
- Turn on the light switch to make sure your new light is working!
Tip: If you’re not comfortable working with electricity, it’s okay to call an electrician. But for simple replacements, this project is very doable.
Build a Floating Shelf
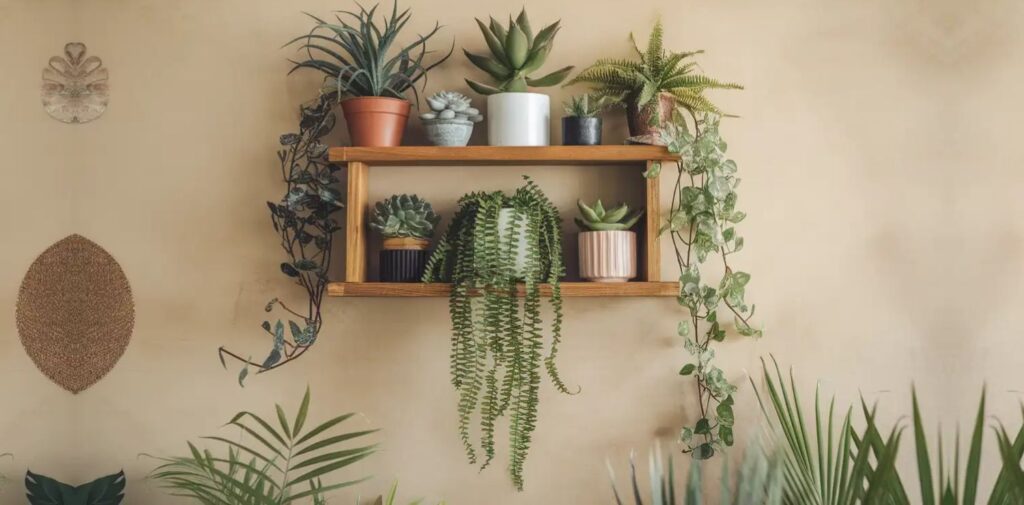
Floating shelves are not only functional but also look modern and stylish. They’re perfect for displaying books, photos, or plants. The best part is that you can easily build one yourself!
What You Need:
- Wood board for the shelf
- Shelf brackets or L-brackets
- Drill
- Screws
- Sandpaper
- Paint or stain (optional)
How to Do It:
- Measure the length and width of the space where you want to install the shelf.
- Cut the wood board to the right size (you can ask your local hardware store to cut it for you).
- Sand the edges and surface of the wood to make it smooth.
- Paint or stain the wood if you want to add some color or finish.
- Attach the shelf brackets to the wall, making sure to screw them into the studs (you may need a stud finder).
- Place the shelf on top of the brackets and secure it with screws.
Tip: If you want a more advanced project, you can create a floating shelf without visible brackets, but this requires more advanced woodworking skills.
Refinish Old Furniture
Instead of throwing out your old furniture, why not give it a makeover? Refinishing or painting old furniture can make it look brand new without costing a lot of money.
What You Need:
- Sandpaper (medium and fine grit)
- Primer
- Paint (chalk paint or spray paint works well for furniture)
- Paintbrush or foam roller
- Clear sealer
How to Do It:
- Start by sanding down the surface of your furniture to remove any old paint or finish. Sanding will also help the new paint stick better.
- Once you’ve sanded it smooth, wipe off the dust and apply a coat of primer.
- After the primer dries, paint your furniture with a color of your choice. Apply several thin coats for the best results.
- Once the paint is completely dry, apply a clear sealer to protect the finish.
- Let everything dry thoroughly before putting your furniture back in place.
Tip: If you’re painting wood furniture, consider using a color that contrasts with the natural wood to make the piece stand out.
Create a Gallery Wall
If you’ve been collecting artwork, photos, or prints but don’t know where to hang them, creating a gallery wall is a fun and easy project. A gallery wall lets you show off your personality and style with a beautiful collection of your favorite pieces.
What You Need:
- Picture frames (in various sizes)
- Pictures, photos, or artwork
- Measuring tape
- Picture hanging strips or nails
How to Do It:
- Lay out your pictures on the floor to figure out the arrangement you like best.
- Use a measuring tape to ensure the spacing between the frames is even.
- If you’re using picture hanging strips, simply stick them to the back of each frame and press them against the wall. If you’re using nails, mark where the nails need to go and hang the frames.
- Step back and admire your gallery wall!
Tip: Don’t be afraid to mix and match frames—different colors and textures can add visual interest to your wall.

Add a New Rug or Throw Pillows
Sometimes, all your living room needs is a few small touches to make it feel brand new. Adding a new rug or some cozy throw pillows can instantly refresh the space. This is a simple project that doesn’t require any tools, just your personal style!
What You Need:
- New rug (choose one that fits the size of your room)
- Throw pillows in colors or patterns you love
How to Do It:
- Shop for a rug that suits the color scheme and size of your room.
- Lay the rug down in the center of the room, or place it underneath your coffee table or seating area.
- Add throw pillows to your sofa, mixing different textures and patterns for extra style.
Tip: Don’t be afraid to try bold colors or patterns! A fun rug or pillow can bring energy to your space.
Conclusion: DIY Home Renovation
Home renovation doesn’t have to mean tearing down walls or hiring expensive professionals. By taking on simple DIY projects like painting, installing shelves, or refinishing furniture, you can transform your home into a beautiful and functional space without breaking the bank. And the best part? You’ll feel proud knowing that you did it all yourself!
So grab your tools, unleash your creativity, and start tackling these DIY projects today. Whether you’re adding a splash of color to your walls or building your own floating shelf, your home will soon look even more amazing than before!

